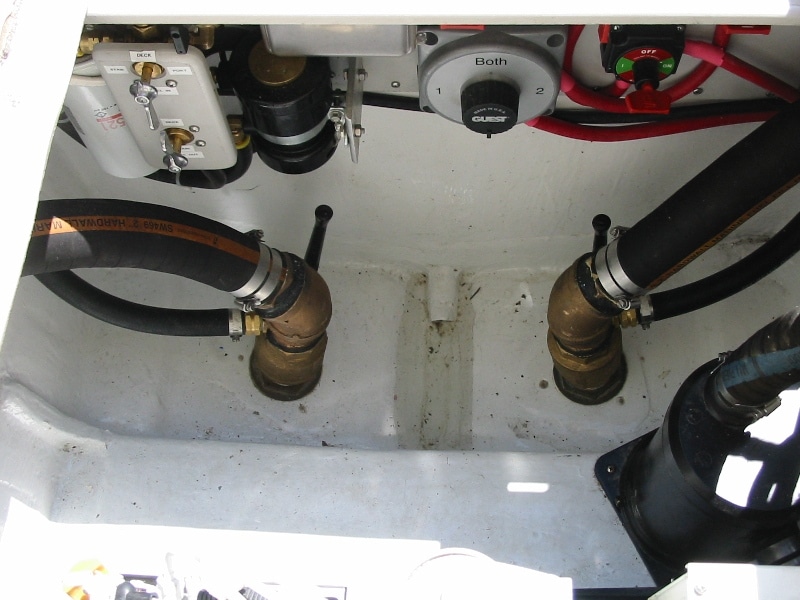
WHY FRESH WATER FLUSH – PROTECTING YOUR ENGINES “MARINE AGE”
There are about 8,700 hours in a year and when you consider that most recreational boats may be gone from the dock well less than 10% of that time, it should be pretty obvious where all the corrosion of a marine diesel engine can take place. “It isn’t at sea, it´s at the dock…” We typically install a Fresh Water Flush setup on every recreational vessel that we repower. Why leave saltwater in the raw water circuit of an engine?
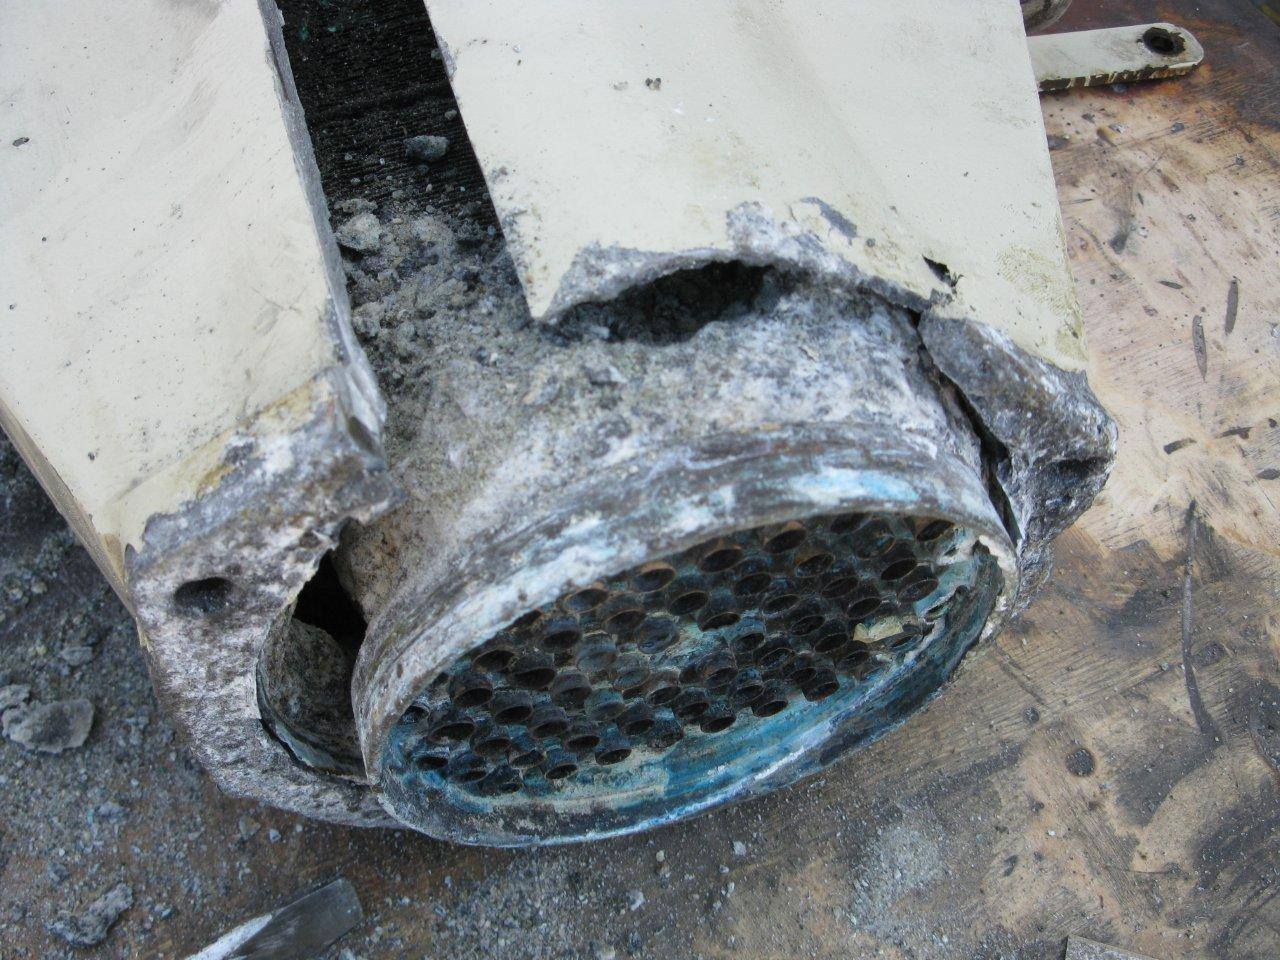
What might stagnant saltwater be doing while sitting in the cooling system? It’s wreaking havoc with all of the different metals that comprise that side of the system. It’s taking out your zincs, and what’s left behind is clogging all the cooling tubes. That seawater is also eating away at the “less-than-good” quality brass or copper alloys in your seawater pump and transmission cooler. It’s also attacking the various solder alloys used when putting these components together. Then you have your bronze sea strainer, maybe some SS seawater tubes that are used to plumb your engine and maybe wet sections of the exhaust system that hold water after you shut down. But the BIG one is… the saltwater cooled aftercooler. This cooler is made of components comprised of copper based and aluminum alloys that are not supposed to be in contact with each other.
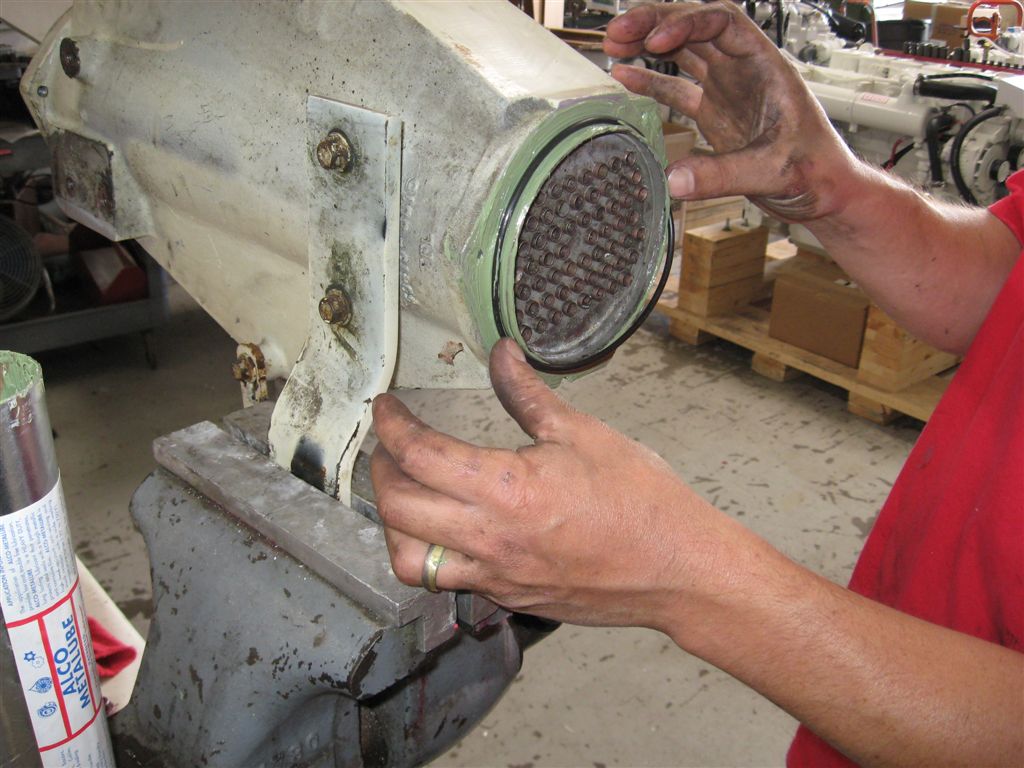
Dissimilar metals in an electrolytic solution constitute the definition of a battery. As chemical reactions happen between these materials a current flow is generated, and that flow of electrons is generated by the chemical change of your expensive components as they slowly transform into something other than the metal that they were initially made of. You can literally halt this process simply by taking the electrolytic solution out of the equation. All you have to do is flush the raw water circuit with fresh water! Its easy, it’s cheap and it WORKS!
SETTING UP YOUR VESSEL FOR A FRESH WATER FLUSH
Make it Easy: The First Rule of FRESH WATER FLUSHING
Fresh water flushing your marine diesel sounds like a simple enough task. But when it comes down to making it simple, well, that’s when things can get complex, and in my opinion, confuses most people as to what really needs to be accomplished. First and foremost, your Fresh Water Flush setup needs to be convenient to use. If it isn’t quick and easy, after a long day of boating you’re going to wind up skipping it and that defeats the whole purpose. Make it easy, make in convenient, and make it safe for the engine. You shouldn’t have to drag a hose down into some distant corner of the bilge and contort yourself into a pretzel to flush your engine, instead select a convenient location to inject fresh water, and/or run some hoses, fittings, install a hose fitting on the deck, or whatever it takes to make it easy.
Option 1: The Strainer Cap
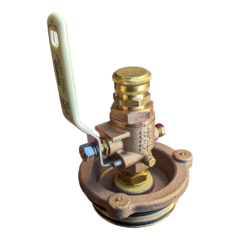
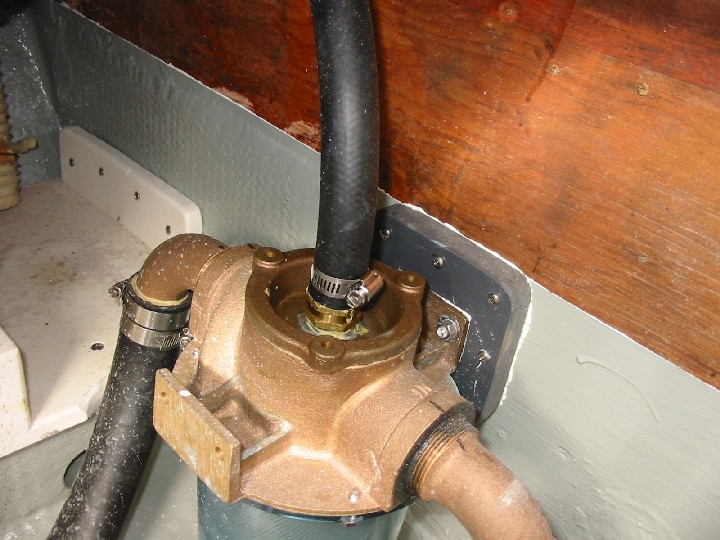
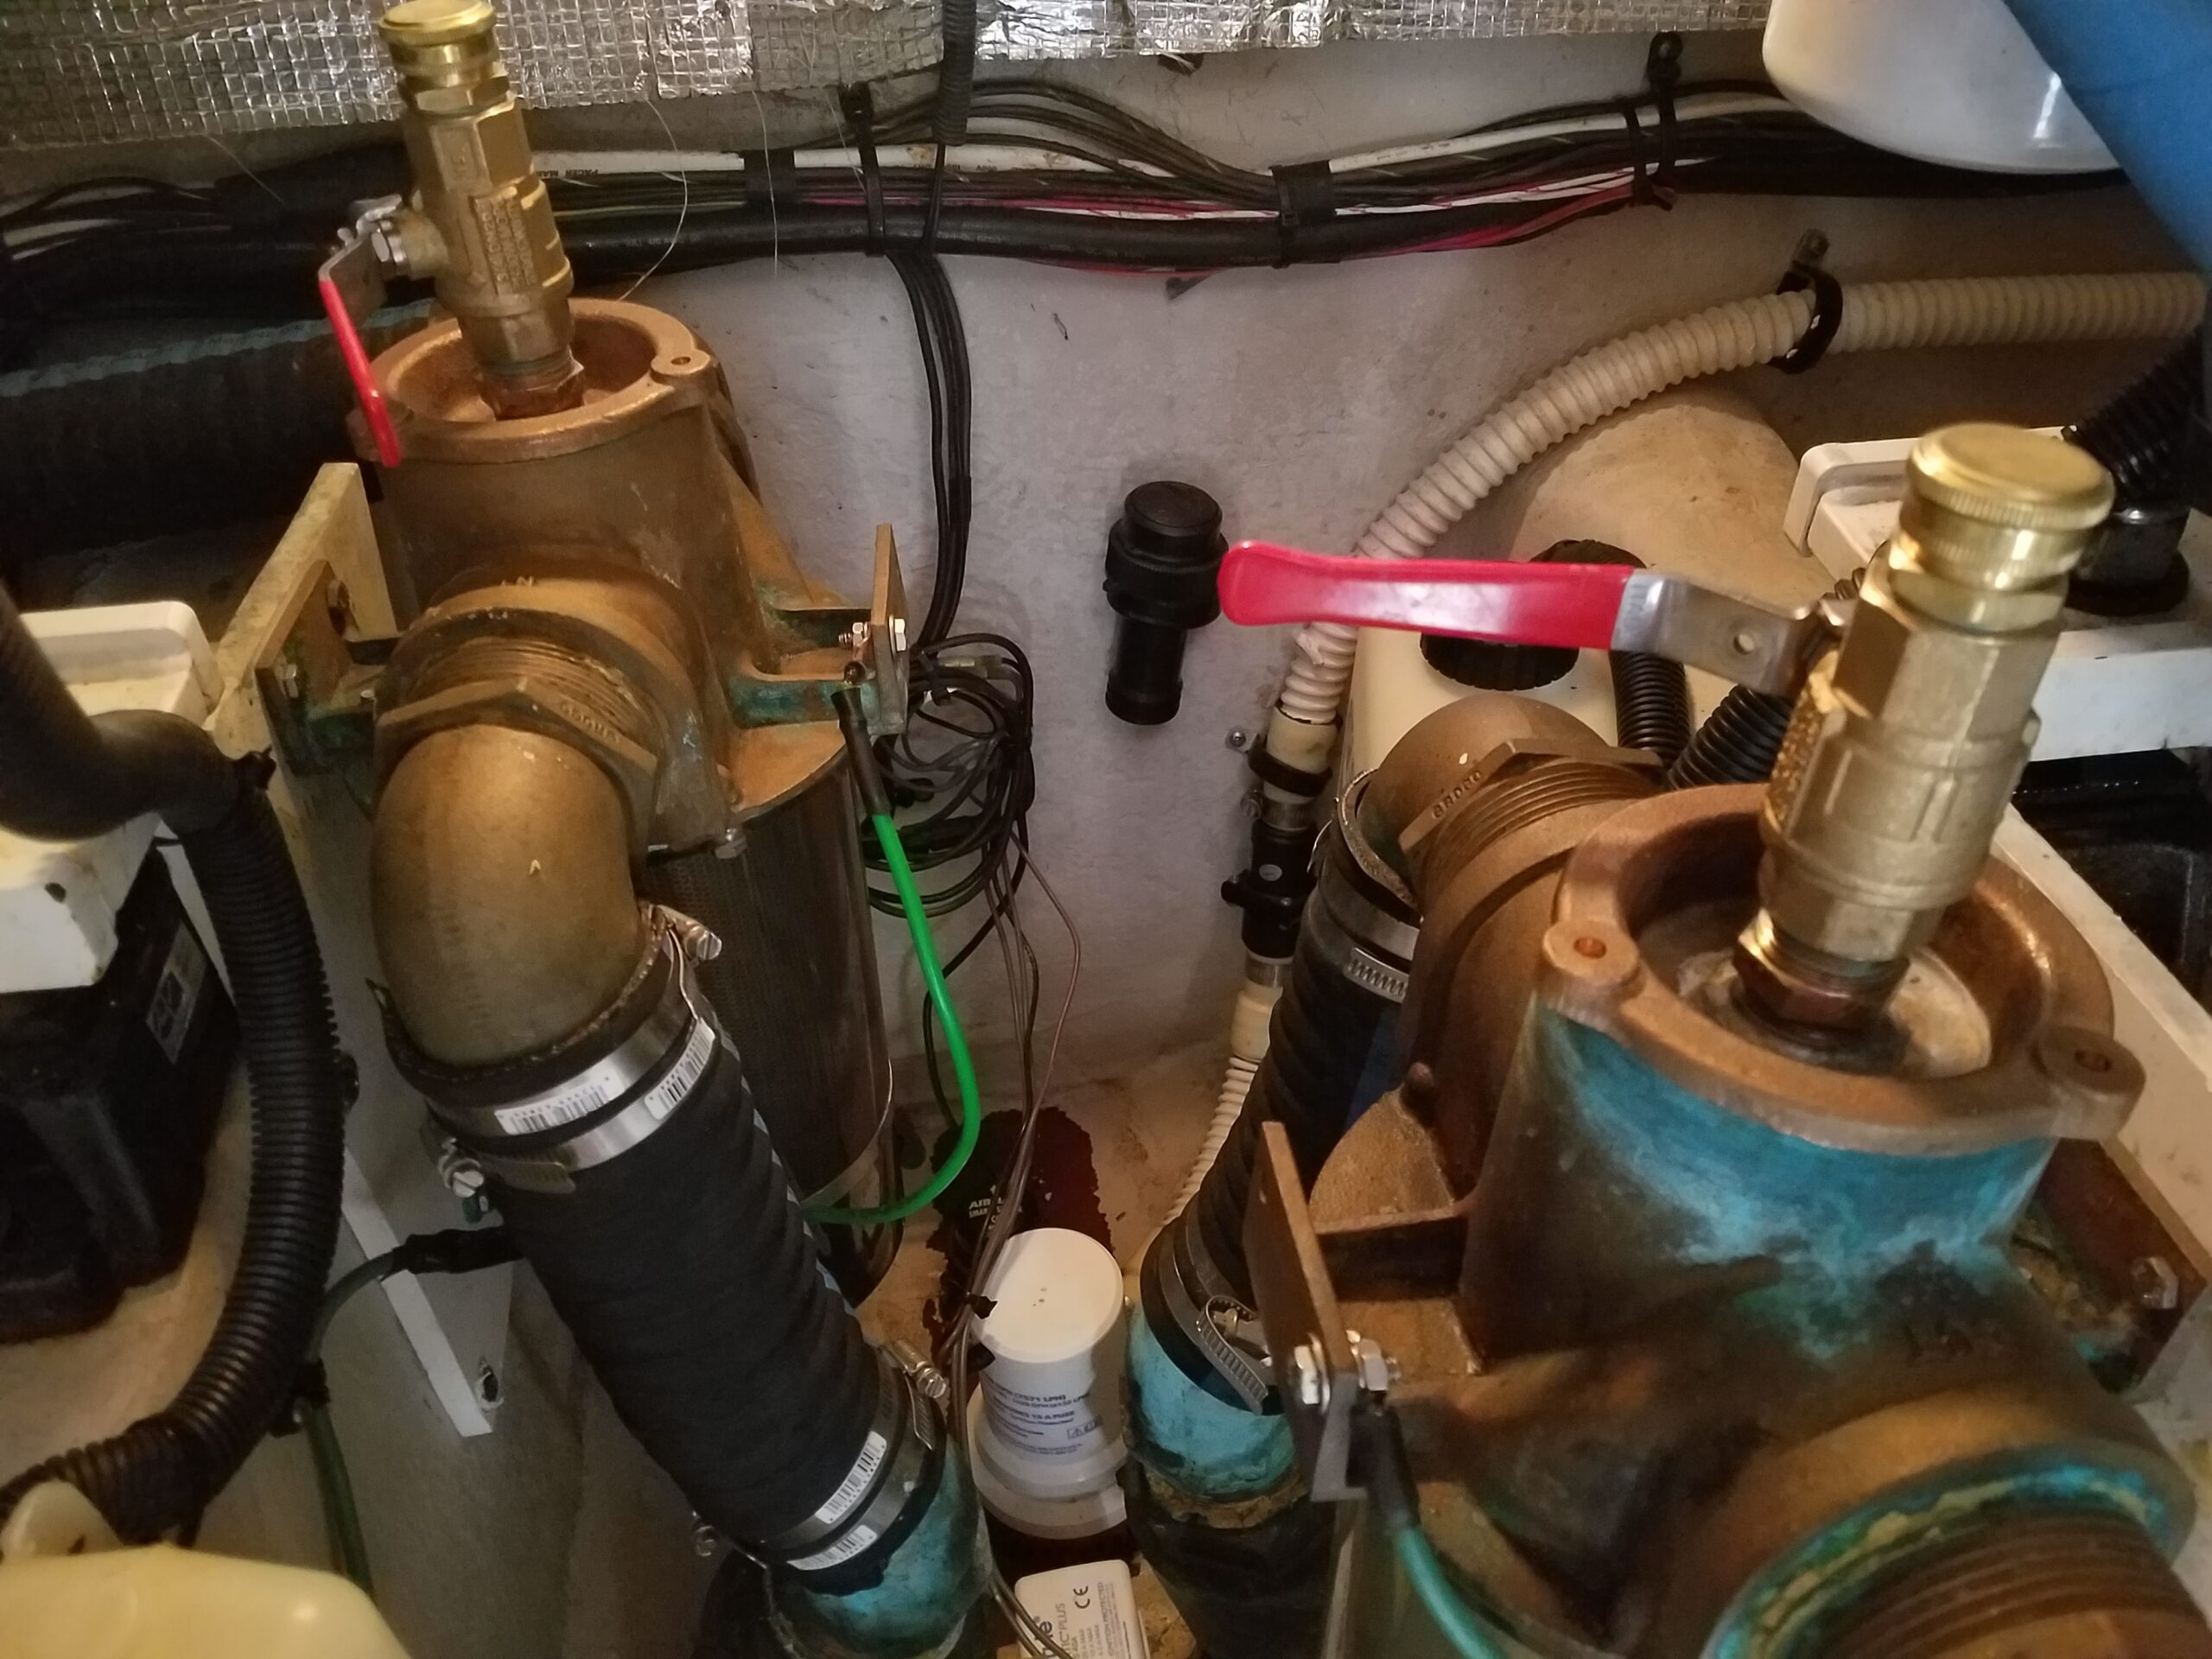
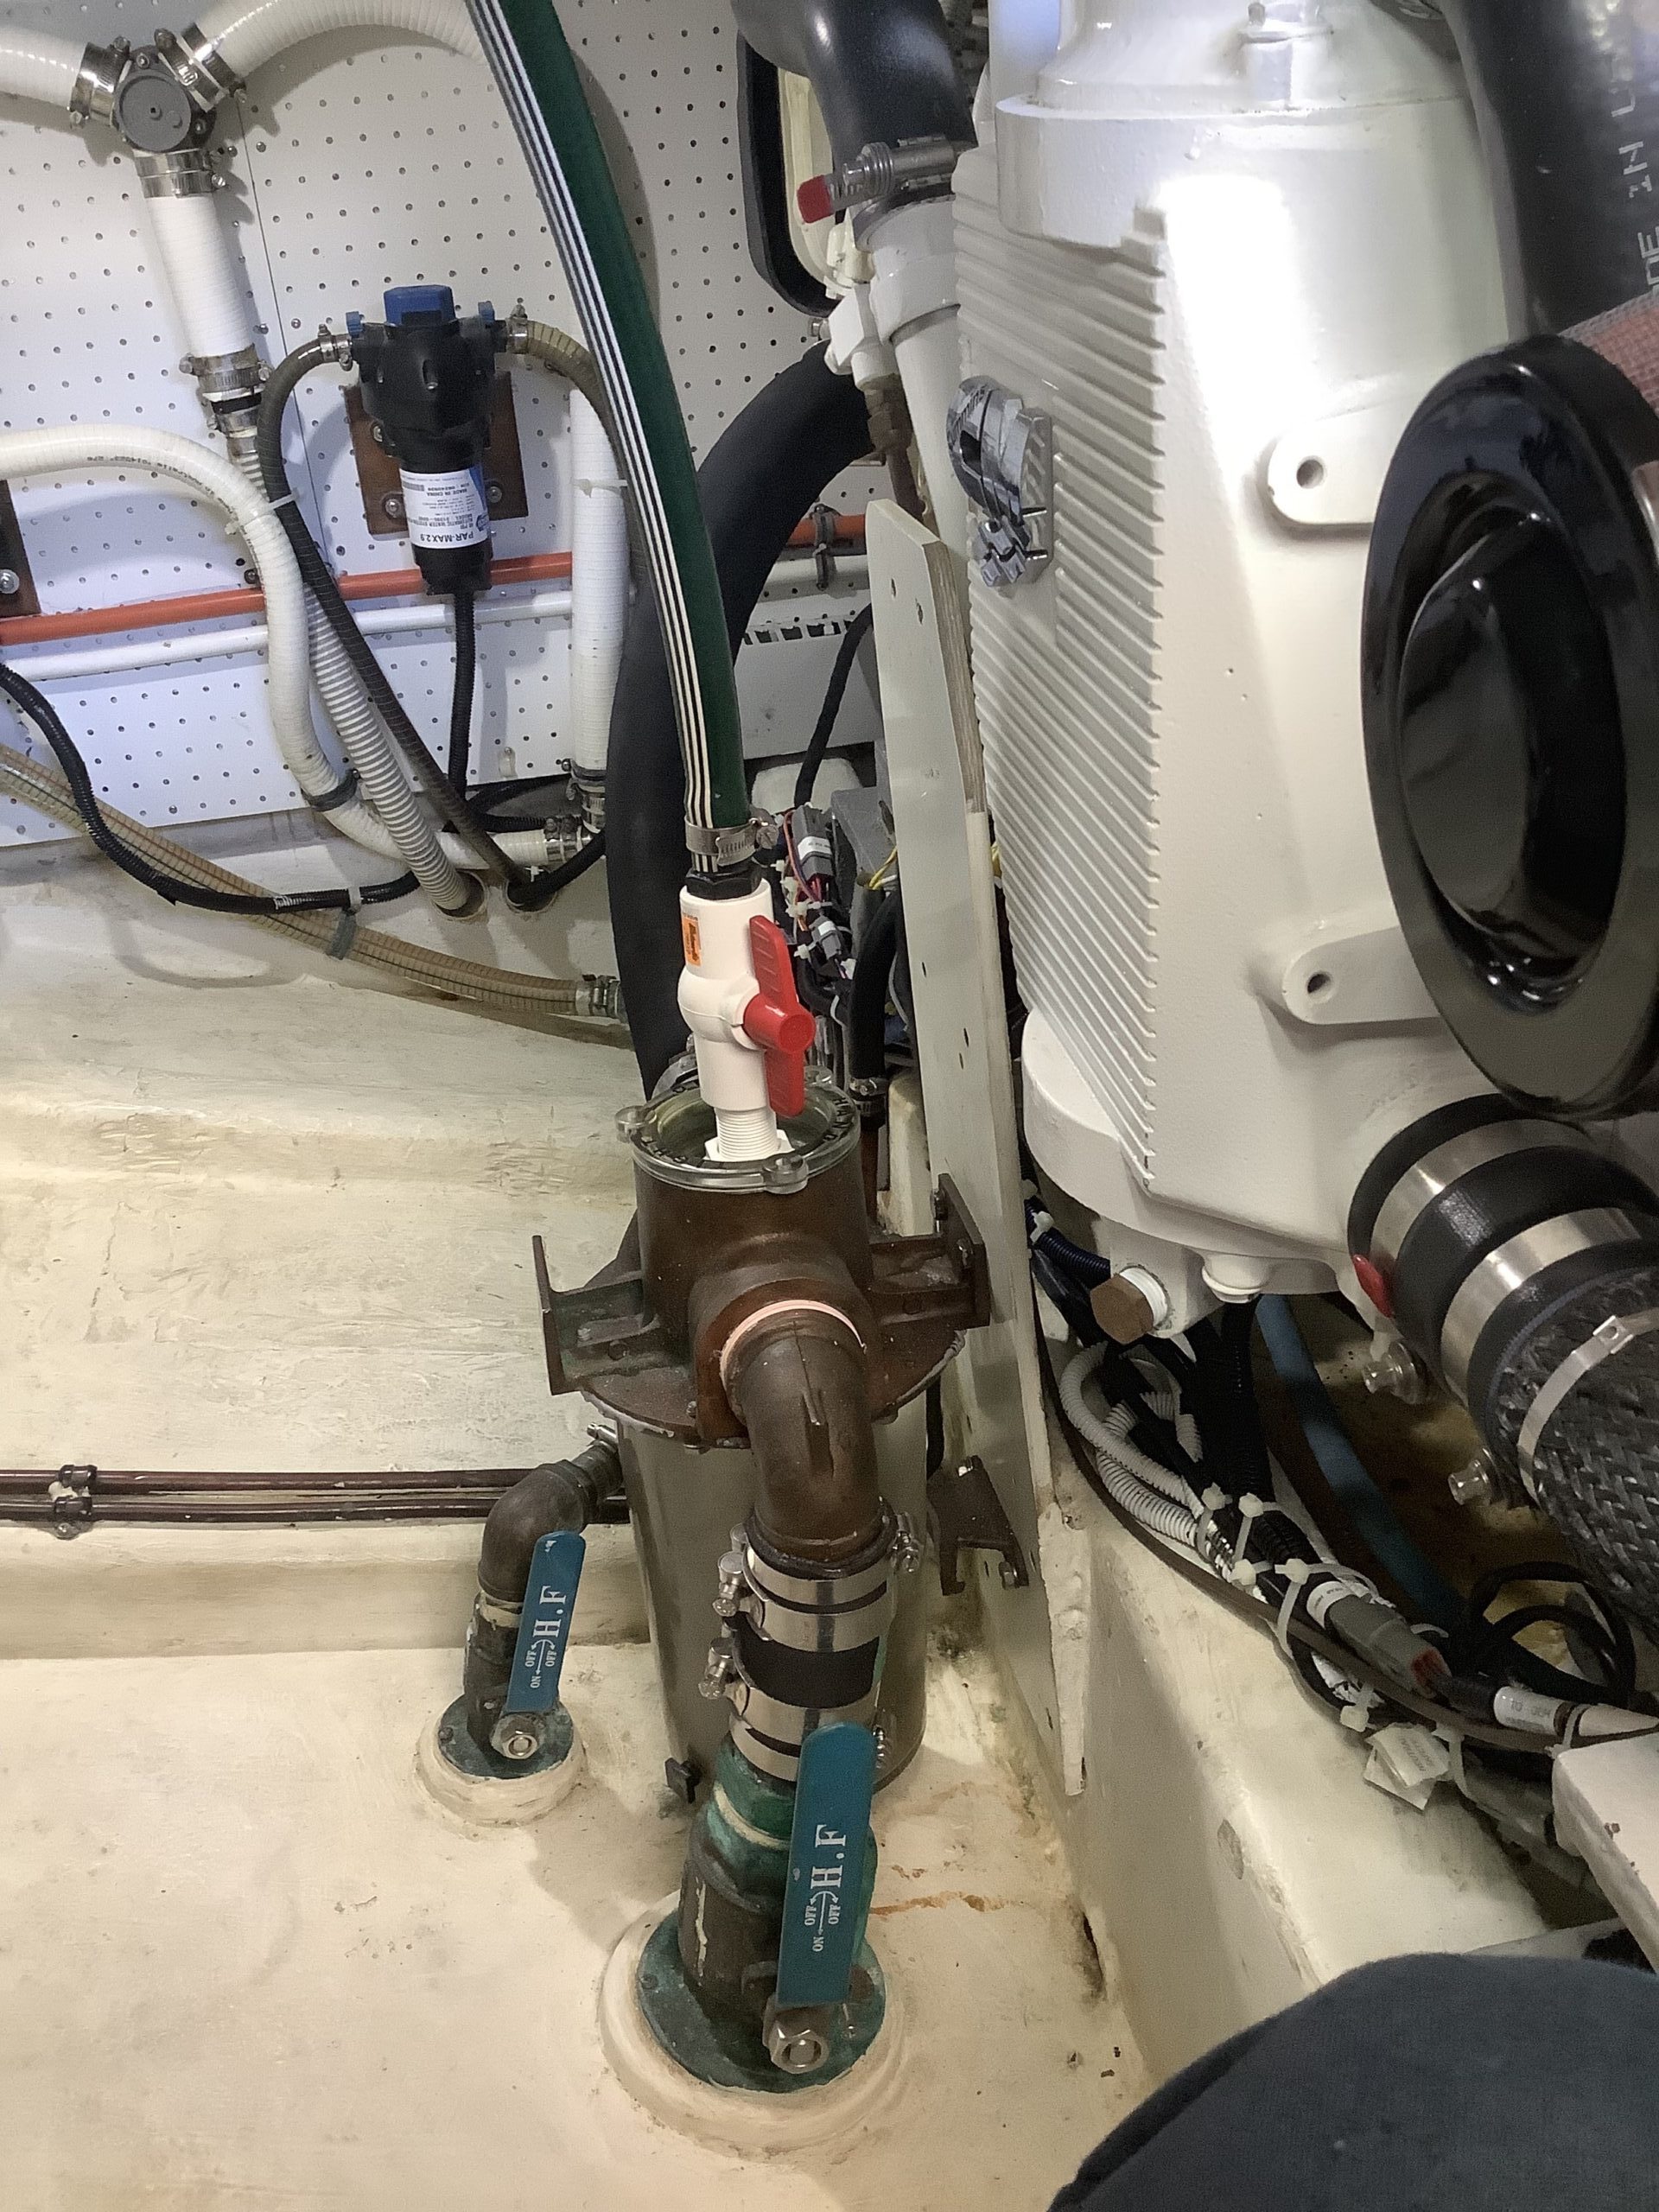
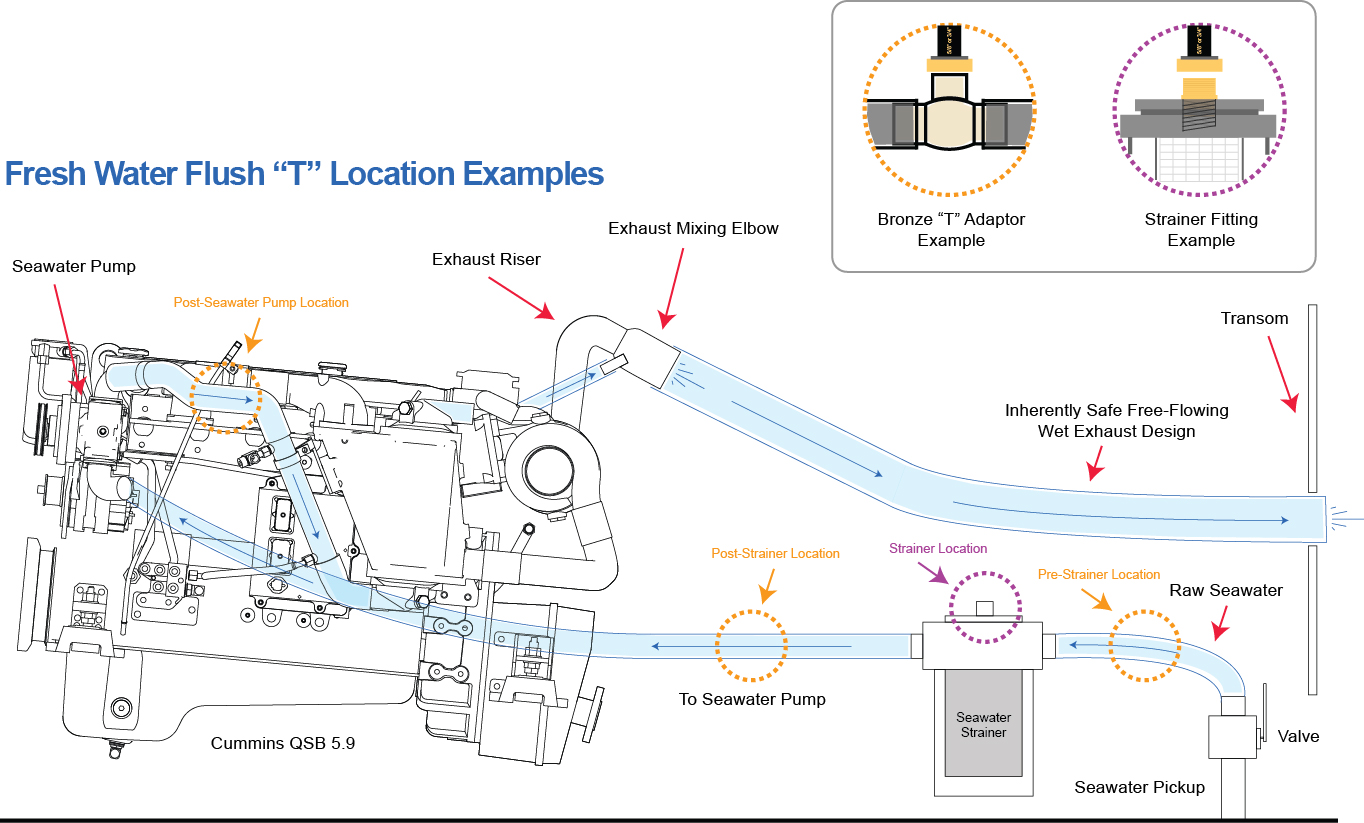
The top of a Groco type strainer is often the easiest for attaching the FRESH WATER FLUSH hose. This approach can require Zero plumbing if your sea strainer is easily accessible, or if its out of the way, simply run a hose from the strainer to a location that is accessible. In some cases, this can be all you need for a fairly easy flush setup.
Option 2: Inline Tee Fitting on Suction Hose
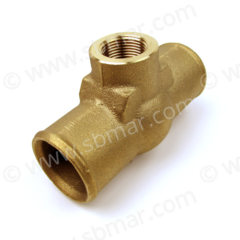
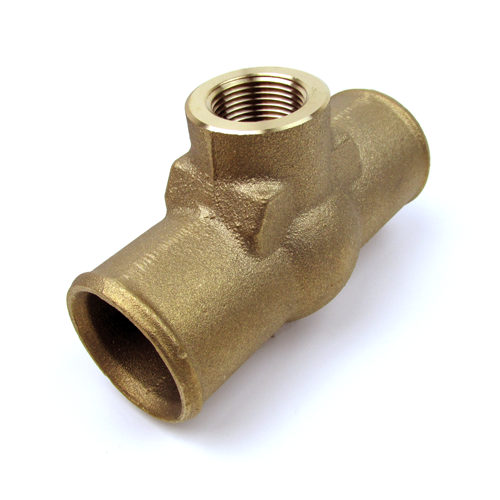
Another option is to put a Tee in between the sea strainer and the raw water pump. With this approach, it not only feeds the engine, but back-flushes the strainer after the engine has shut off and all the water is now passing backwards through the strainer, and through the bottom of the boat. Because the hose connects below the waterline in most cases and is part of the engines “vital” systems, always use high quality hose and fittings coupled with some good planning for the install. This type of hook-up requires a few extra fittings and is not always as easy to do but in some cases it’s a great solution.
Option 3: Custom Fitting or Elbow
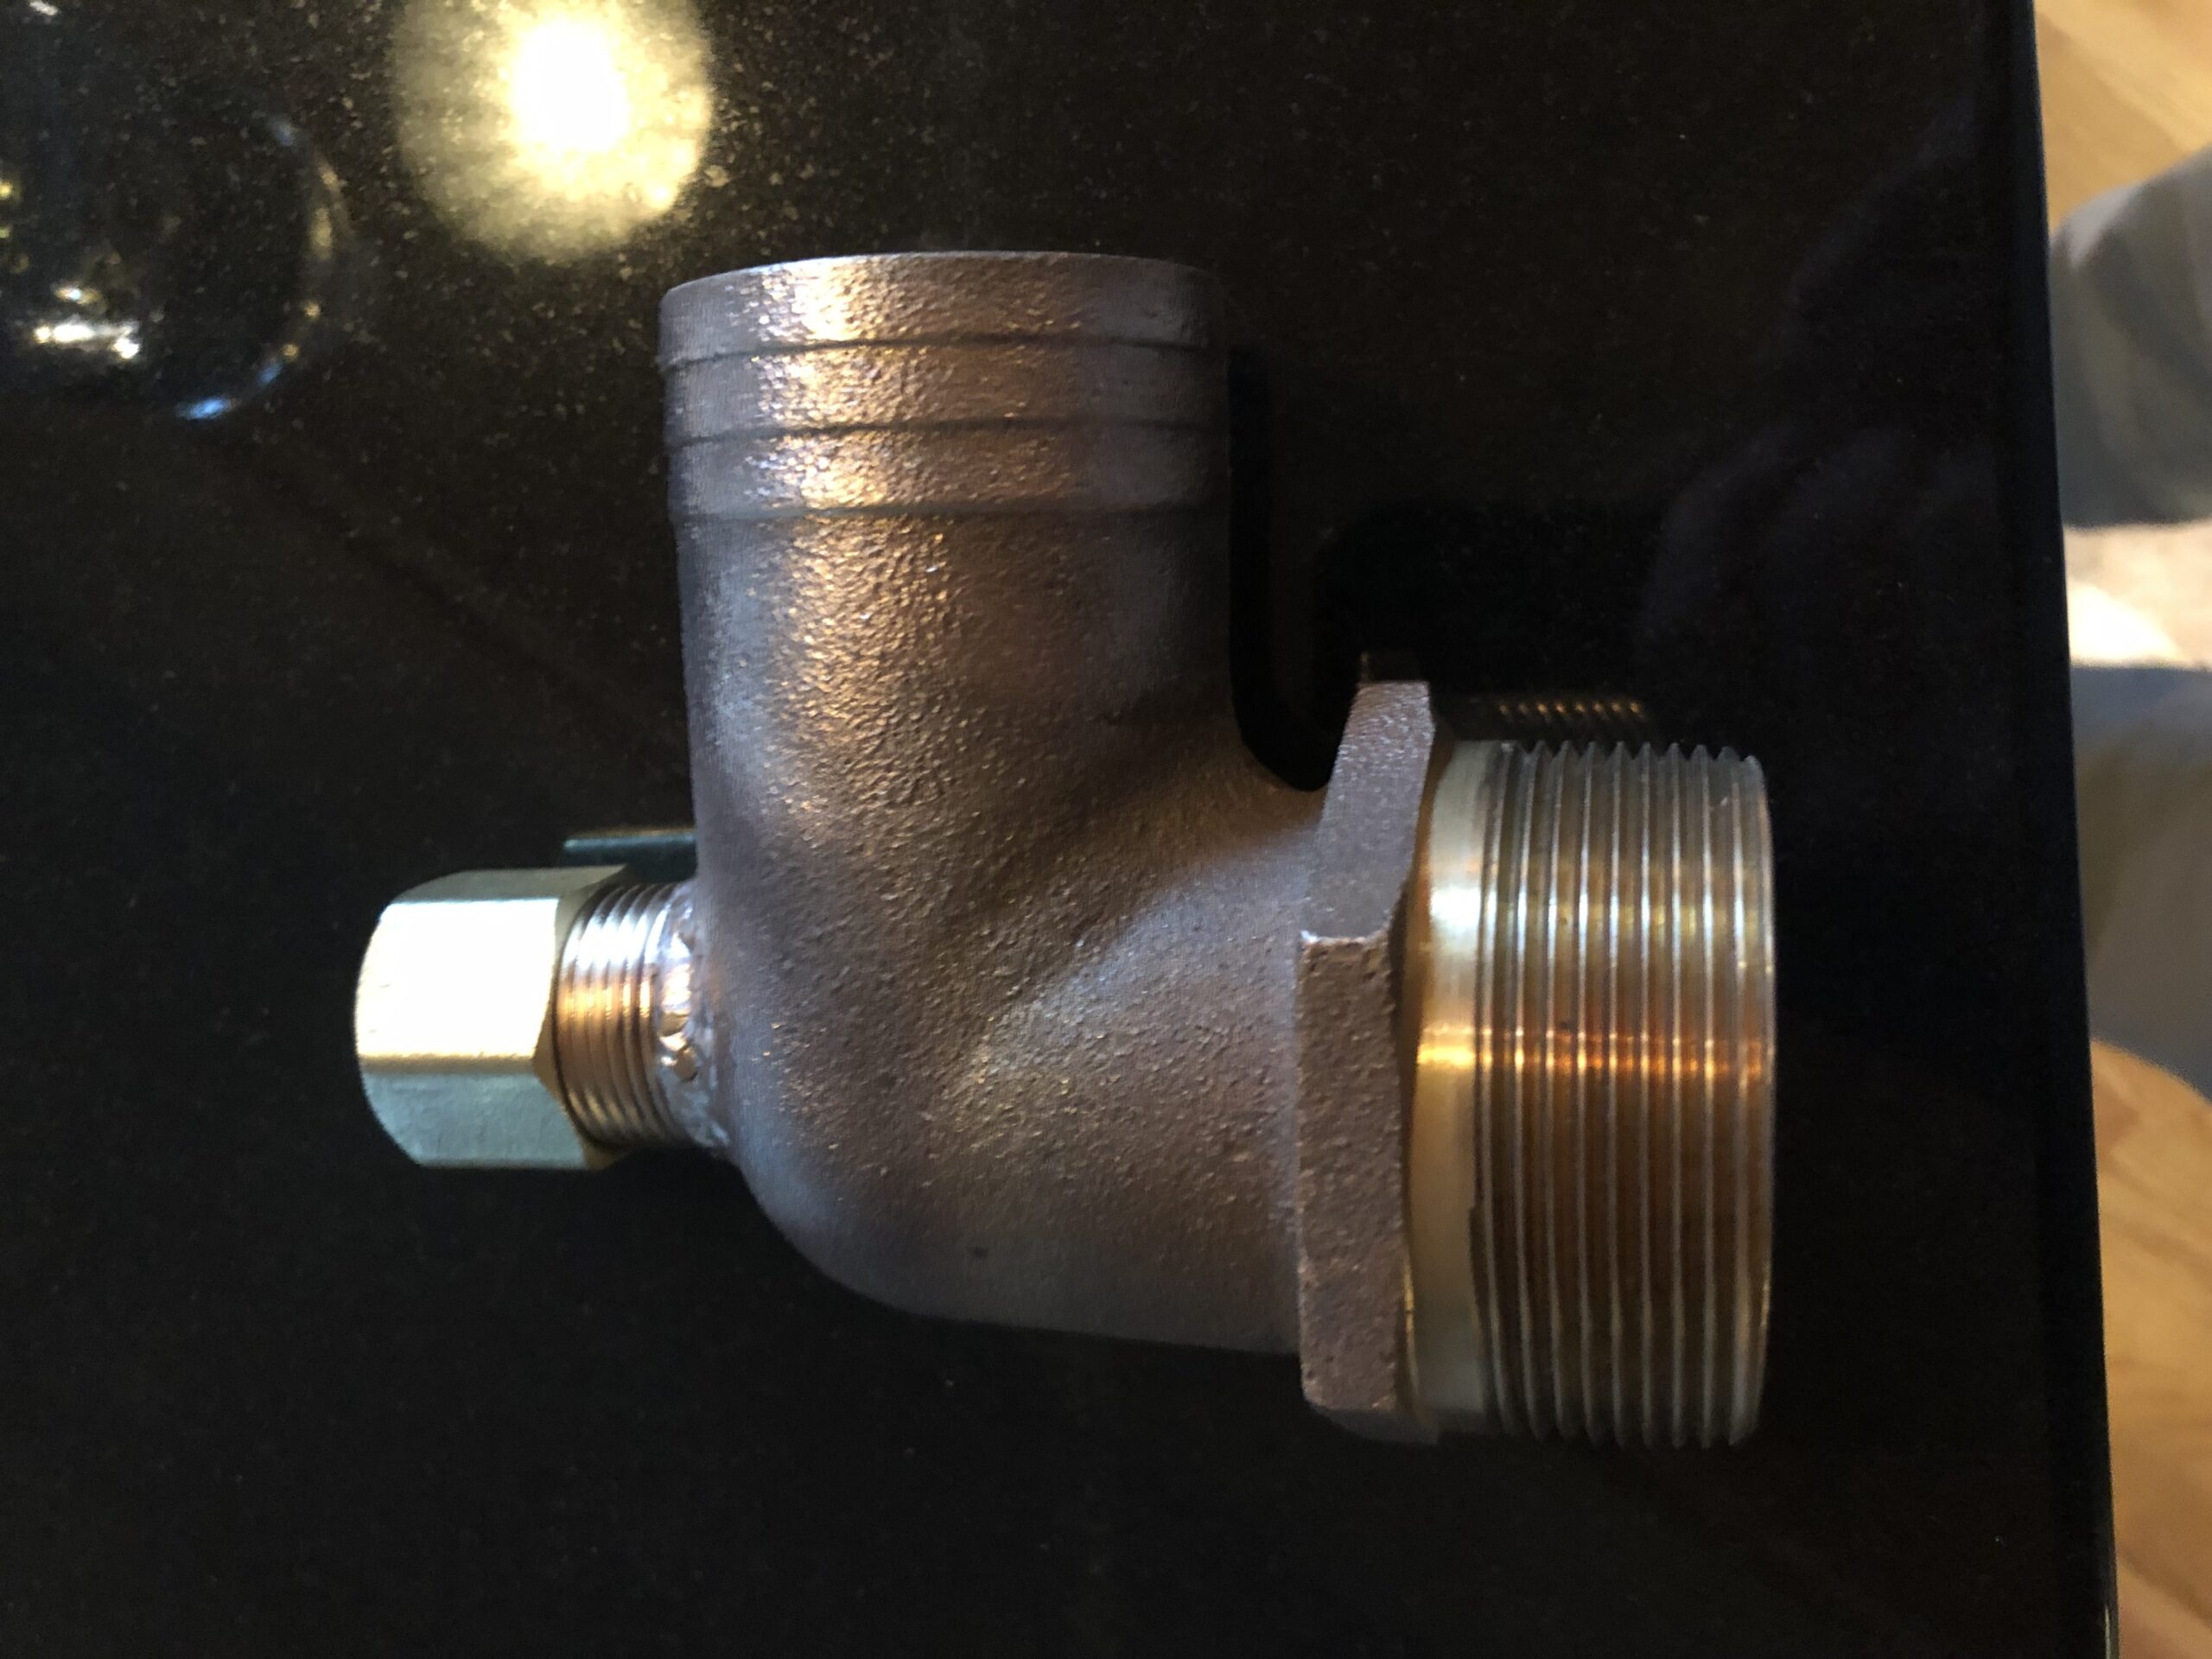
Another approach is to make a custom fitting such as and elbow or nipple that connects to the sea cock or sea strainer. This is a good approach when the sea strainer is a bit hard to reach or where other aspects of the raw water plumbing result in this being a more convenient connection point. This is probably the most difficult setup as it requires some custom fabrication such as brazing or cutting pipe threads.
Option 4: Flushing on the Output Side of the Raw Water Pump
Yet another approach is to inject water on the output side of the pump, or even on the pipe port on the output side of the pump. If you don’t have a lift muffler and your raw water drains with gravity only, you can inject water after the pump and flush the system without running the engine.
[hr style="gradient" size="2px"]Performing a Freshwater Flush – Best Practices
If you have the strainer lid setup, or a T, or a custom elbow on the suction side of your circuit the method of performing a flush is fairly straight forward. This method works with virtually all raw water-cooled vessels whether they have a lift muffler, standard muffler, or no muffler. We generally recommend that you leave the seacock open at all times; before, during and after a Fresh Water Flush. The old Hippocratic oath applies here; first do no harm. If you ever accidentally leave the sea cock closed, that is very bad and certainly does more harm than good. Now I know what you are thinking, it’s the same thing every boater who has forgotten to open the sea cock before you thought, I won’t leave MY seacock closed. Don’t worry, we have plenty of engine parts set aside just for you.
Procedure for flushing leaving the seacock always open
- Starting with the seacock open
- Turn on the fresh water which will begin flushing some portion of the suction side
- Start the engine and run it for bit. How Long? Hard to say unless you taste the water coming out for salinity
- Shut off the engine
- Shut off the Fresh water supply
So, you still want to close your seacock? Maybe you just can’t handle not knowing the exact mixture of fresh and saltwater going into the engine.Maybe the dock hose doesn’t supply tons of water and you really want to know you’ve flushed it out thoroughly. Whatever the reason, you want to close it and flush with 100% fresh water only.
Procedure for Flushing while closing the seacock briefly
- Start as before with the seacock Open
- Turn on the fresh water supply
- Start the engine
- Close the seacock
- Run the engine for a bit
- OPEN THE SEACOCK (Do this first)
- Shut off the engine
- Turn off the fresh water.
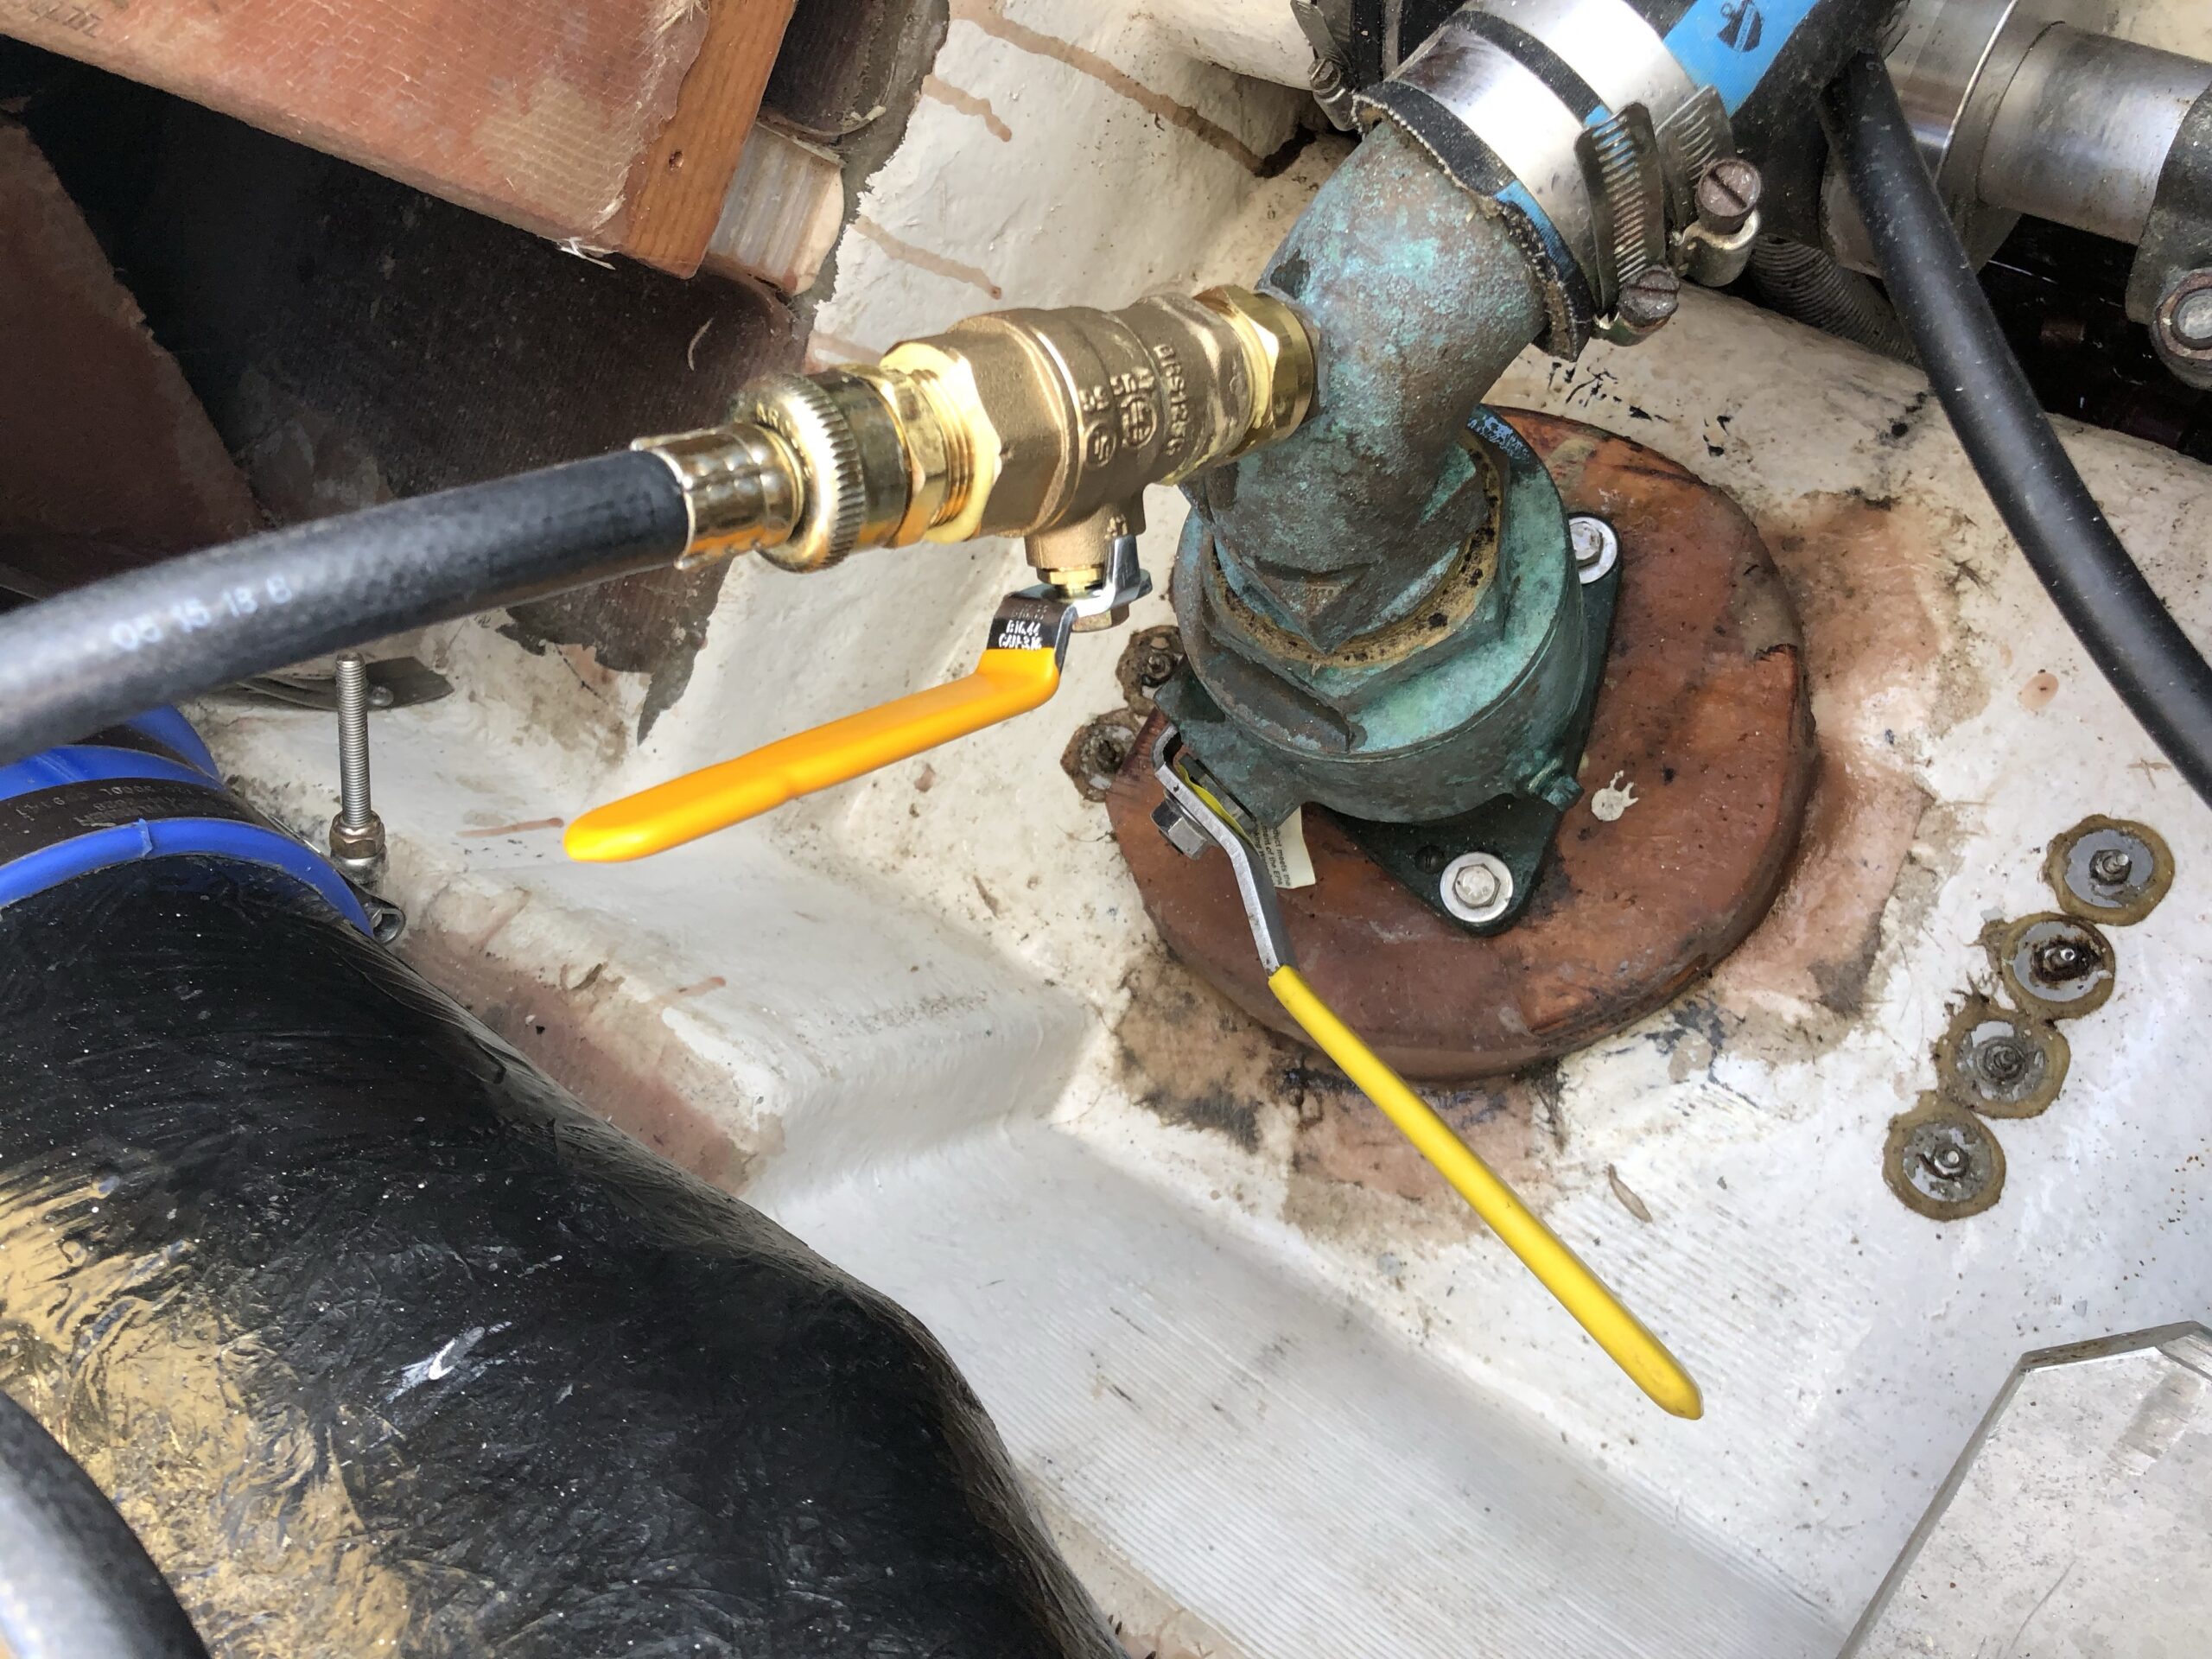
Procedure for Flushing from a Tank or Fish Hold
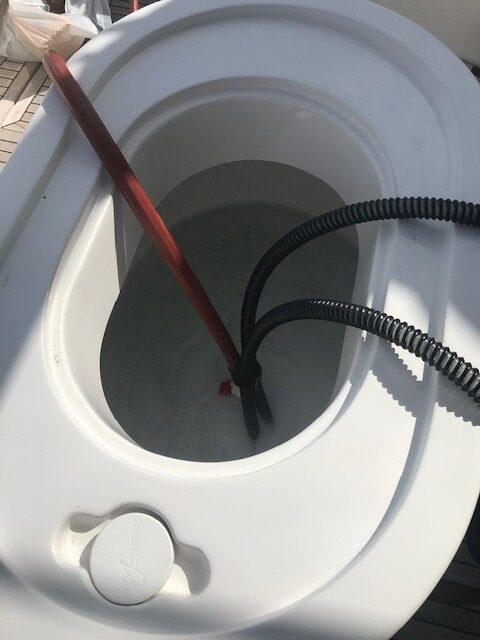
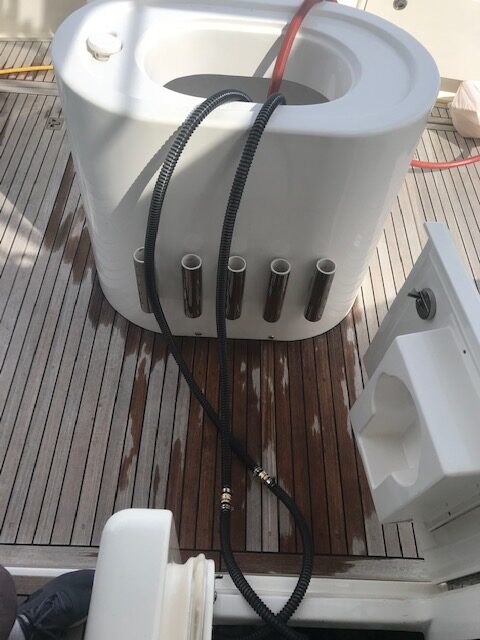
- Place suction worthy hose in a supply of fresh water and connect to the raw water circuit
- With the seacock closed start the engine
- Monitor the water level in the tank or hold and make sure the pump is getting water at all times
- Shut down the engine
- Open the seacock
MORE THOUGHTS ON FRESH WATER FLUSHING YOUR DIESEL ENGINE
If you haven’t already figured it out, we believe in FRESH WATER FLUSHES, and also block heaters for all applications, regardless of the outside air temperature (I may use a thermostat, low wattage units, or timer in warmer climates) and I don´t believe that letting an engine sit unused in the conditions I like to see an engine room detract from its overall life. For engines that I know or feel have not been run for many months/years, I will typically pre-lube the main oil gallery using one of many various techniques. It´s very typical in the commercial business I´ve been involved in to have boats in a fishery where there are 2 to 6 week closures after 2 to 3 months of basically non-stop work. During the off-time, nothing usually transpires besides boat maintenance and when it´s time to go fishing again, all they do is turn the key and BANG, they’re off.
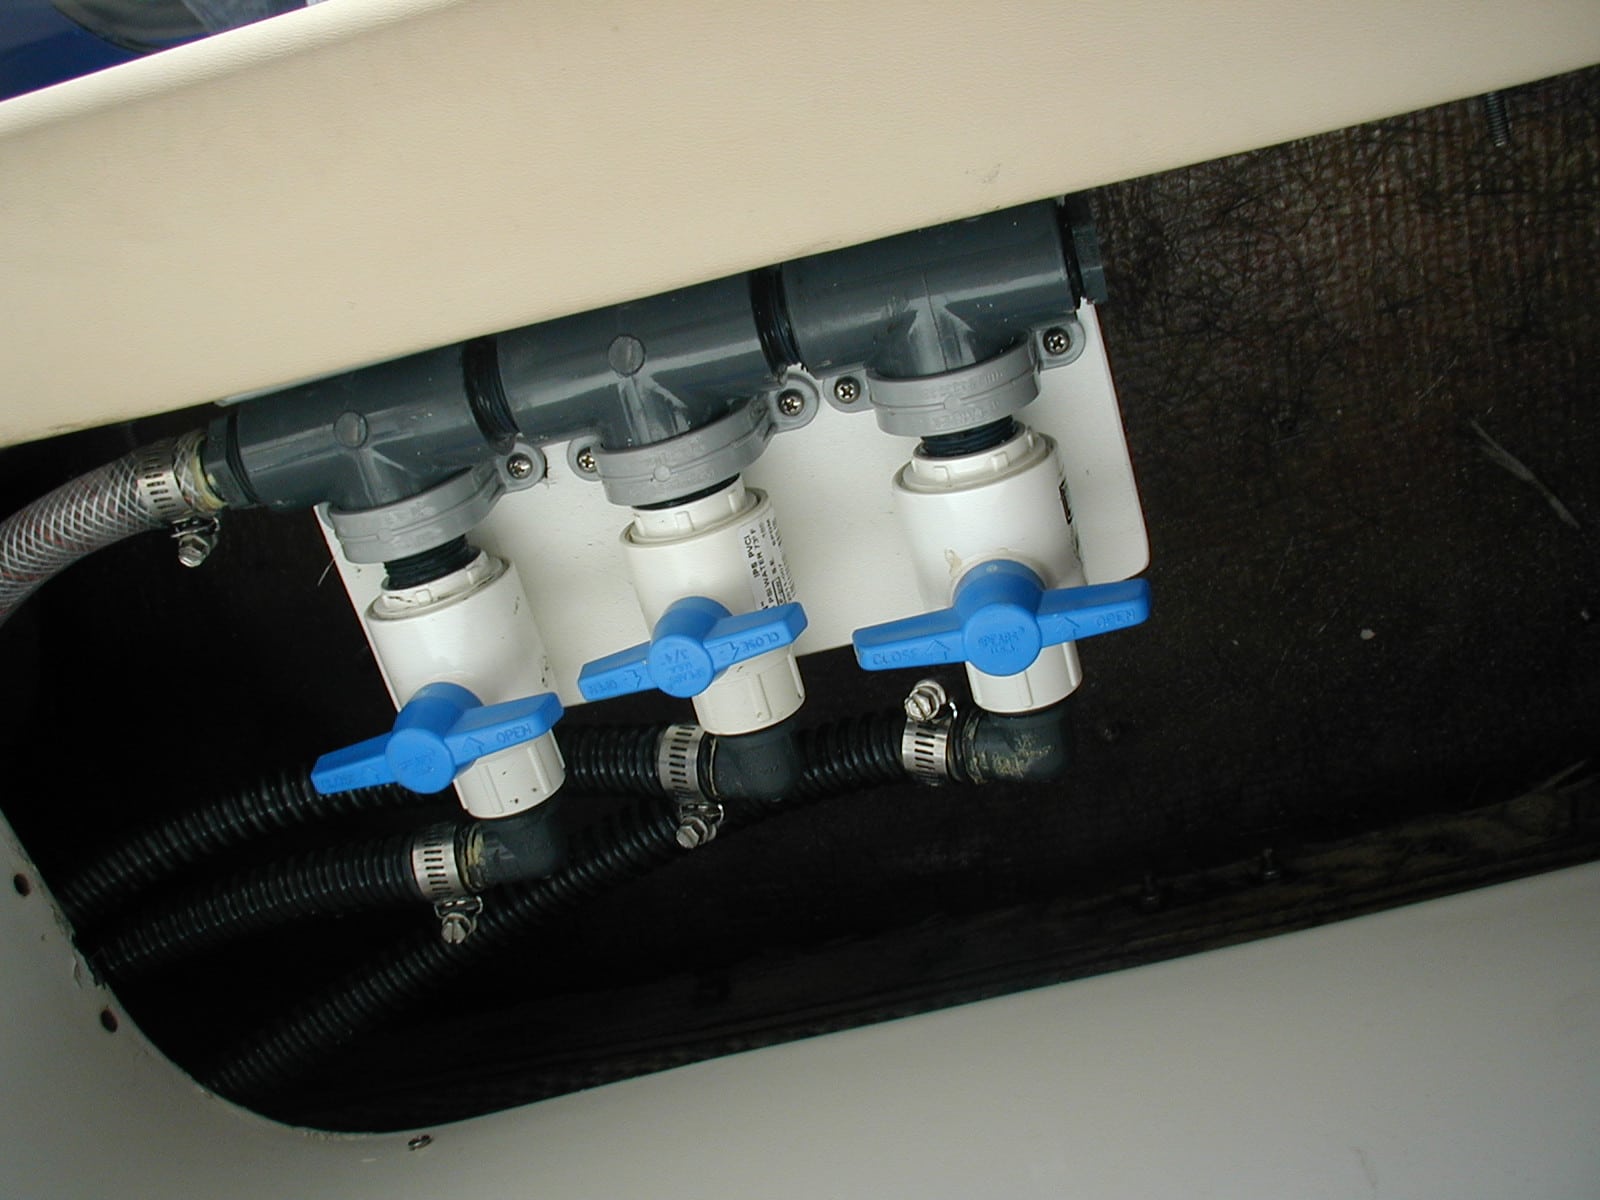
Fresh water flush manifold example
DIGGING DEEPER- UNDERSTANDING YOUR SEAWATER COOLING SYSTEM
The best place to start is with a good understanding of how the seawater cooling systems operates, and then look at some installation options that will fit your circumstances for getting it all plumbed and working.
Basically, all recreational marine diesels have heat-exchanger cooling systems (that would be equal to your car’s radiator). Instead of using air to remove the engines heat, the heat-exchanger uses seawater as the cooling medium through a series of tubes with sea water on one side of the tube and hot coolant on the other. So the “heat EXCHANGES” from the hot coolant to the cold sea water – the coolant loses heat, and the sea water picks up heat in this exchange. In case you are interested, the numbers might look like this—you have 190F coolant going into the heat-exchanger that has 75F seawater running through it. The coolant leaves the heat-x at 155F to return to the engine, and the sea water warms up to 85F on its way downstream in the system. And the cycle just keeps repeating while all is working correctly.
All of these engines also have a seawater pump and usually have a transmission/gear oil cooler. Just about all of the modern high performance engines have seawater cooled aftercoolers in the same circuit and some even have an engine oil cooler that has seawater running through it. So as you can see, cold seawater flows through many components removing heat before it dumps back into the ocean, typically through a wet exhaust system.
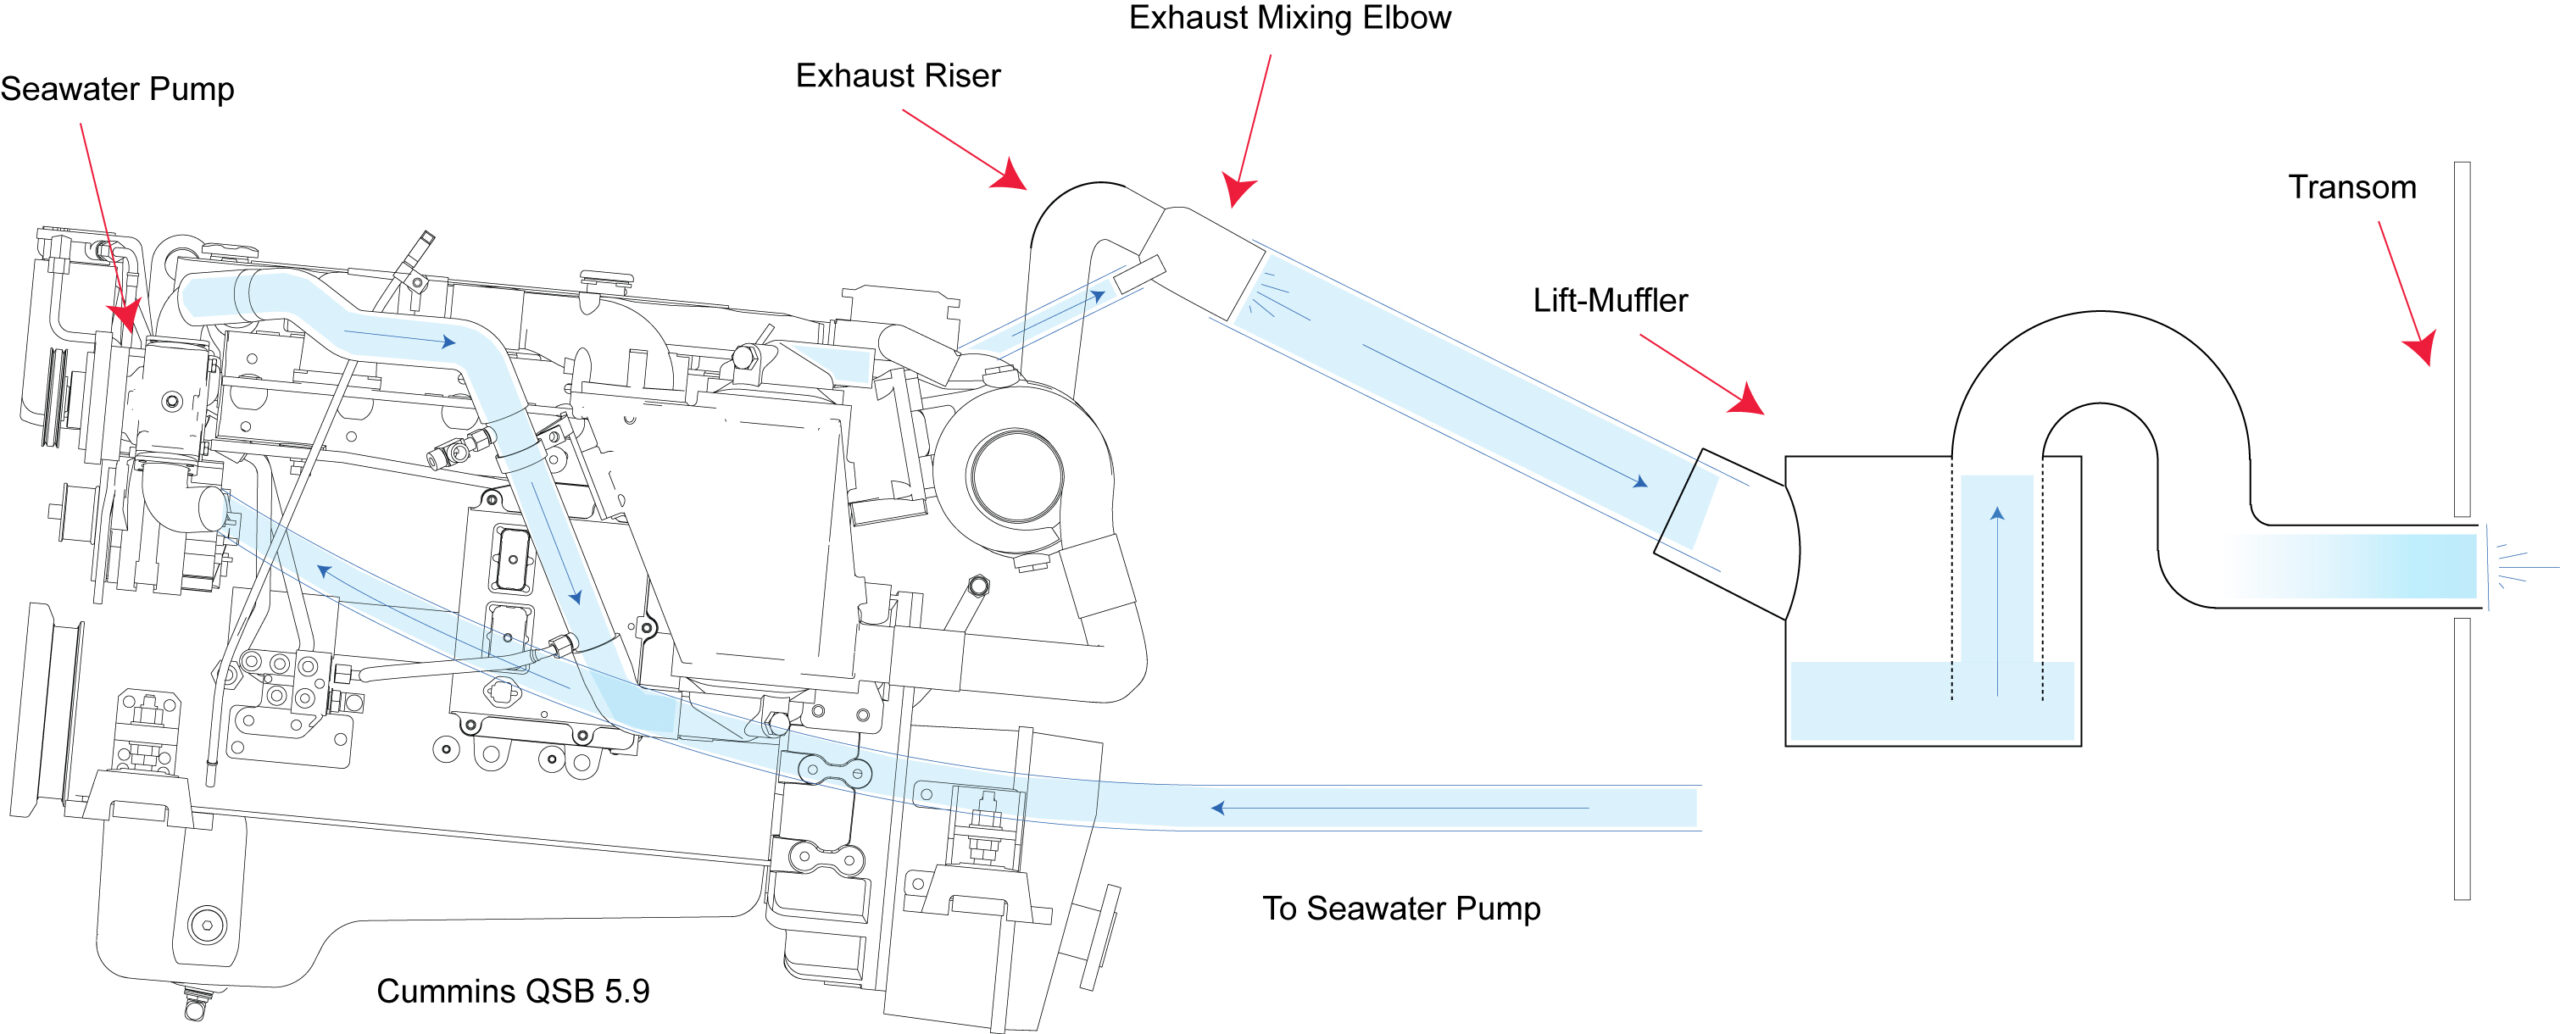
In just about all cases, the system is “open.” Look at the diagram below.
In this case, I use the word “open” meaning that once the seawater pump is pumping water, the system has no valves or other components that could stop the flow. The water flows through the various components and, just as any fluid movement through any type of hose, a pressure drop occurs. The faster the seawater flows, and the higher the flow rate is, the higher the pressure drop in between the outlet of the sea water pump and the final exhaust point of the water (Usually where it dumps into the wet exhaust system). Again, in case you’re interested, the numbers you might see would look like this: (with everything in the system clean and working as it should) on a typical 300HP marine diesel and at a cruise RPM of 2500, you might have a seawater flow of 35 gallons per minute, measured at the exhaust outlet. At the outlet of the sea water pump, you might see a pressure of 15 PSI. As the water flow continues through the various components, each adds its own restriction to the flow rate, and the pressure drops. An aftercooler may add 5 PSI to the restriction, a gear cooler, which may follow it, may add another 5 PSI of restriction, and the main heat-x that follows it may add another 5 PSI to the restriction. When the sea water flow leaves the main heat-x, the actual sea water pressure may only be 5 PSI, although we started at 15 PSI at the outlet of the pump. The water may now flow into the wet exhaust mixer at 5 PSI, but leaves the outlet of the seawater pump at 15 PSI.
FRESH WATER FLUSHING WITH A LIFT MUFFLER
Caution must be taken when implementing a fresh water flush system with the use of a lift muffler in the exhaust system. Inherently, the lift muffler leverages the exhaust pressure of the engine in order to “push” the raw water from the lift mufflers inner baffles to the exhaust exit of the vessel. Without the engine running, it is very easy to fill up the lift muffler with water and create a dangerous condition that will cause high levels of exhaust back pressure when attempting to start the engine. Therefore, it is imperative that when flushing a system of this design, that fresh water is only introduced and accessible when the engine is running… timing will play a critical role in preventing the lift muffler from over-filling.
FRESH WATER FLUSH PRODUCTS
